Add New Provider
Add New Provider
Adding a new provider is a straightforward process with MDComp. Choose “Add or Edit Provider” in the Administration Portal.
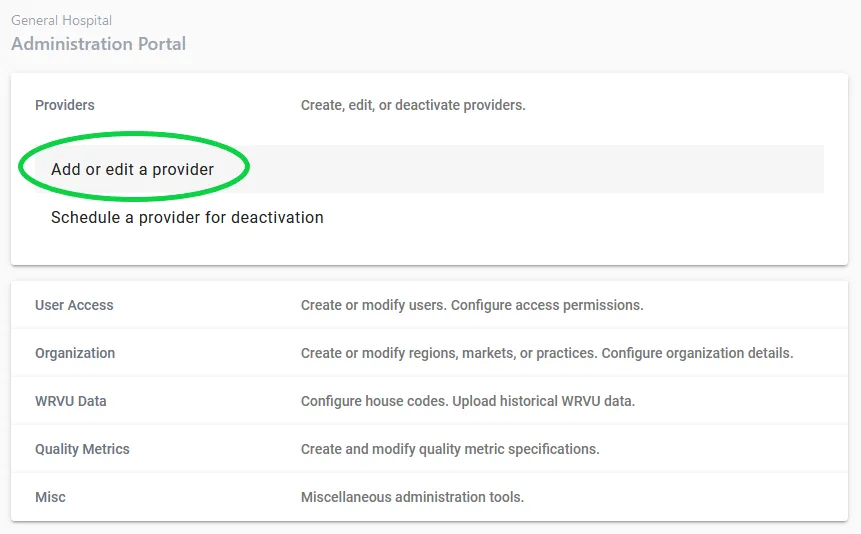
Step 1. Choose “Add new provider”
Step 2. Add the provider’s NPI
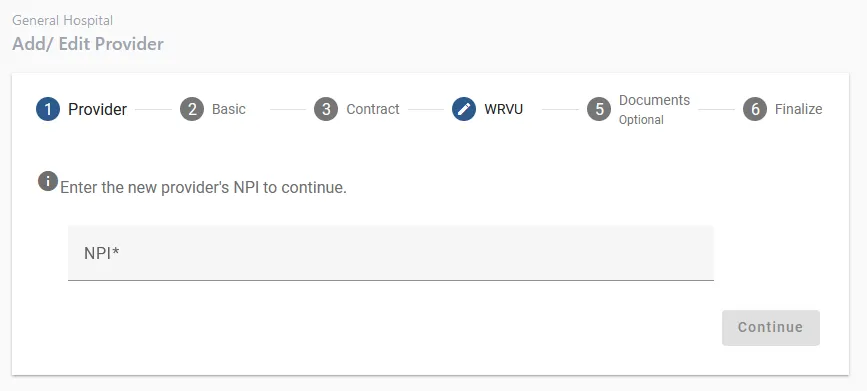
Enter the provider’s NPI. If the NPI already exists in the MDComp system, you will receive a warning prompt and you will not be able to continue. If this happens and you believe it to be an error, please contact MDComp support.

If the NPI could not be found, you will run into this warning:
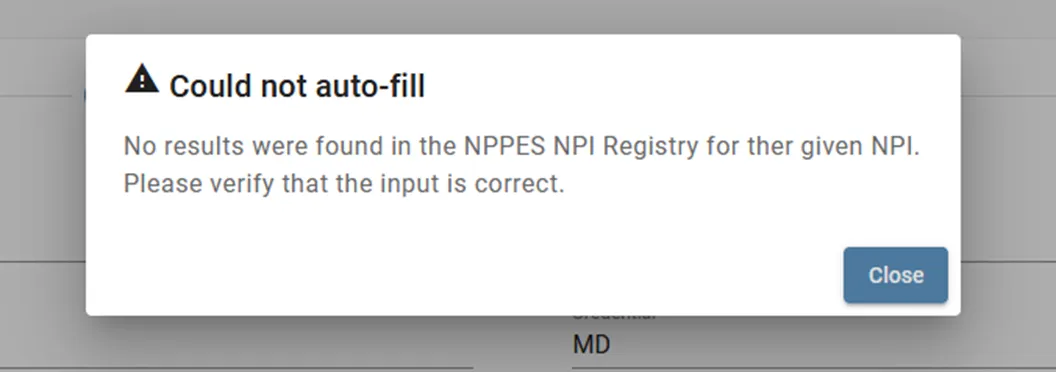
If this happens, please double check your input to make sure the NPI typed in is correct. If you are sure it is correct, please contact support, however you will be able to continue with adding the provider.
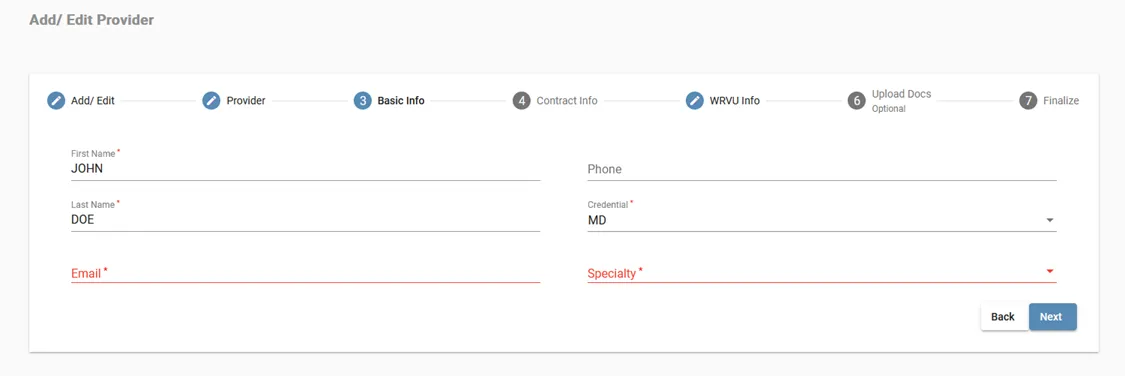
Step 3. Basic information
If the NPI is valid, some of the provider’s information will be automatically filled out for you. This information is retrieved from the NPPES NPI Registry. Please make sure all information is correct before clicking “Next”.
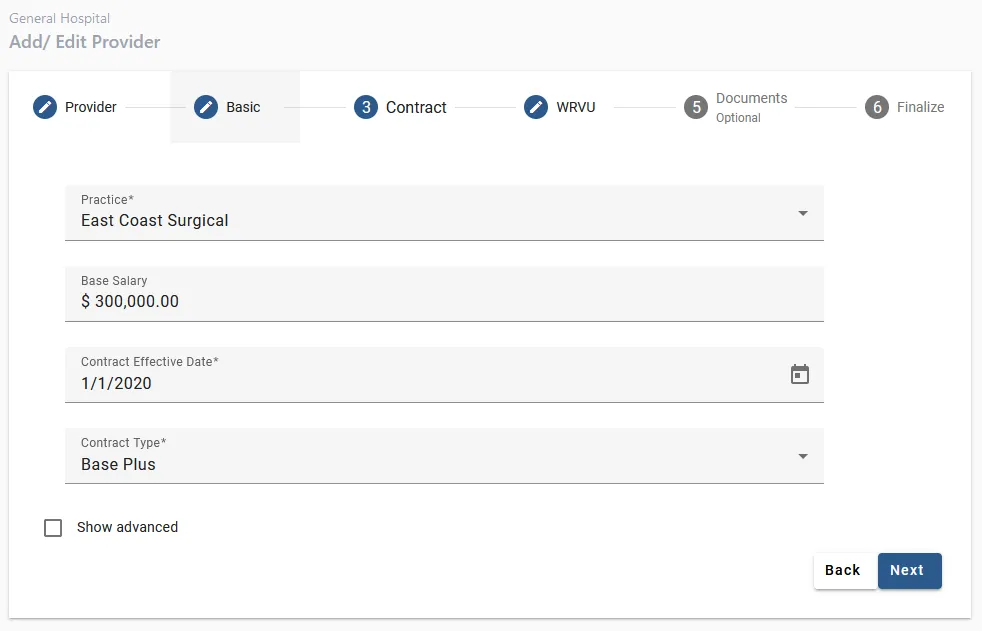
Step 4. Contract information
Choose the provider’s practice from the dropdown list. If you are not tracking a practice yet for this provider, choose the practice “Not Live Providers”. Next, input the provider’s base salary, their hire date, and their contract type. If you are not tracking a contract type in MDComp, choose “Base Plus” as the default.
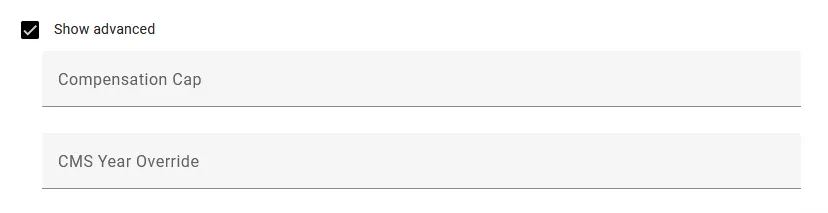
Advanced options
If your provider setup requires special configuration such as Compensation Cap or CMS Year Override, you can find these options by checking the “Show Advanced” checkbox. You will discuss with us whether or not your specific setup requires these options during the onboarding process. Most organizations can safely ignore these options.
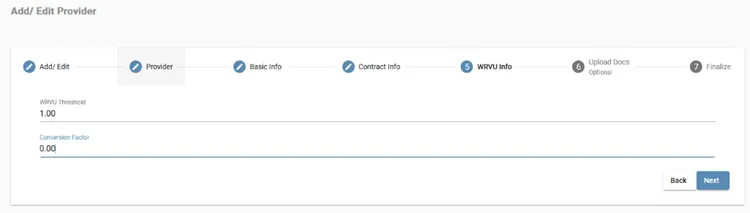
Step 5. WRVU info
If you chose Base Plus, you will see this screen. If you are not tracking this info yet, set WRVU Threshold to 1 and Conversion Factor to 0.
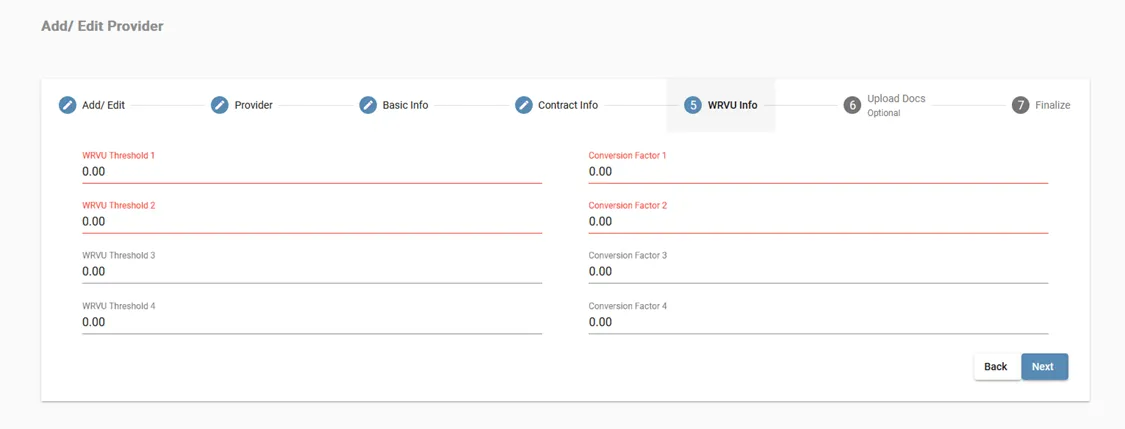
If you chose multi-tier WRVU, you will be given a form for providing the tiers instead. The first two tiers are required. The thresholds must be in increasing order.
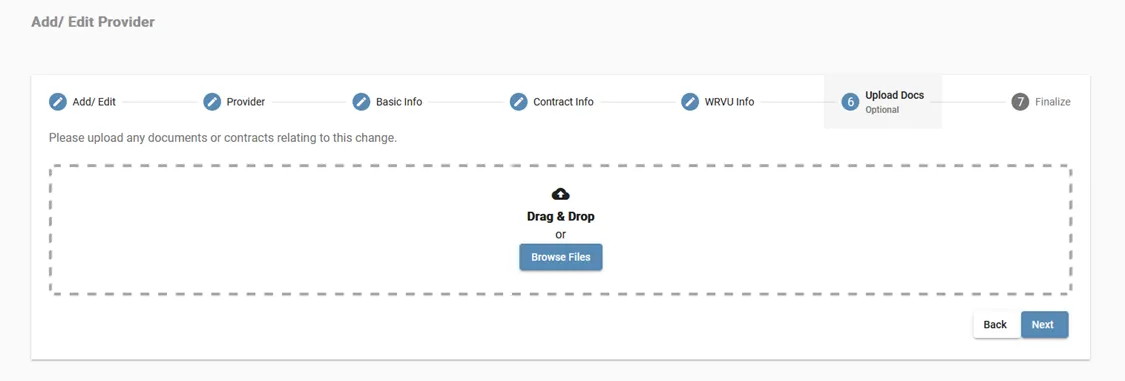
Step 6. Upload documents
On this step you can upload any contracts or relevant documents relating to the addition of the new provider. Simply drag and drop the documents into the bordered pane or select “Browse Files”. This step is optional and can be skipped. Documents can also be uploaded, viewed, or deleted later from the provider’s dashboard.
Step 7. Finalize
Verify that all information is correct before clicking “confirm”. You can jump back to any previous steps by clicking the corresponding step’s tab. When you have verified the accuracy of the information, click “Submit”.